Sorry it's been pretty quiet over here... but I'm happy to say that I'm BACK with a new post :-)
Justin and I have lived in our home for 3 YEARS now and slowly but surely I've finally hung some artwork. Our living room, in particular, has been a challenge for me. BIG BLANK WALLS!
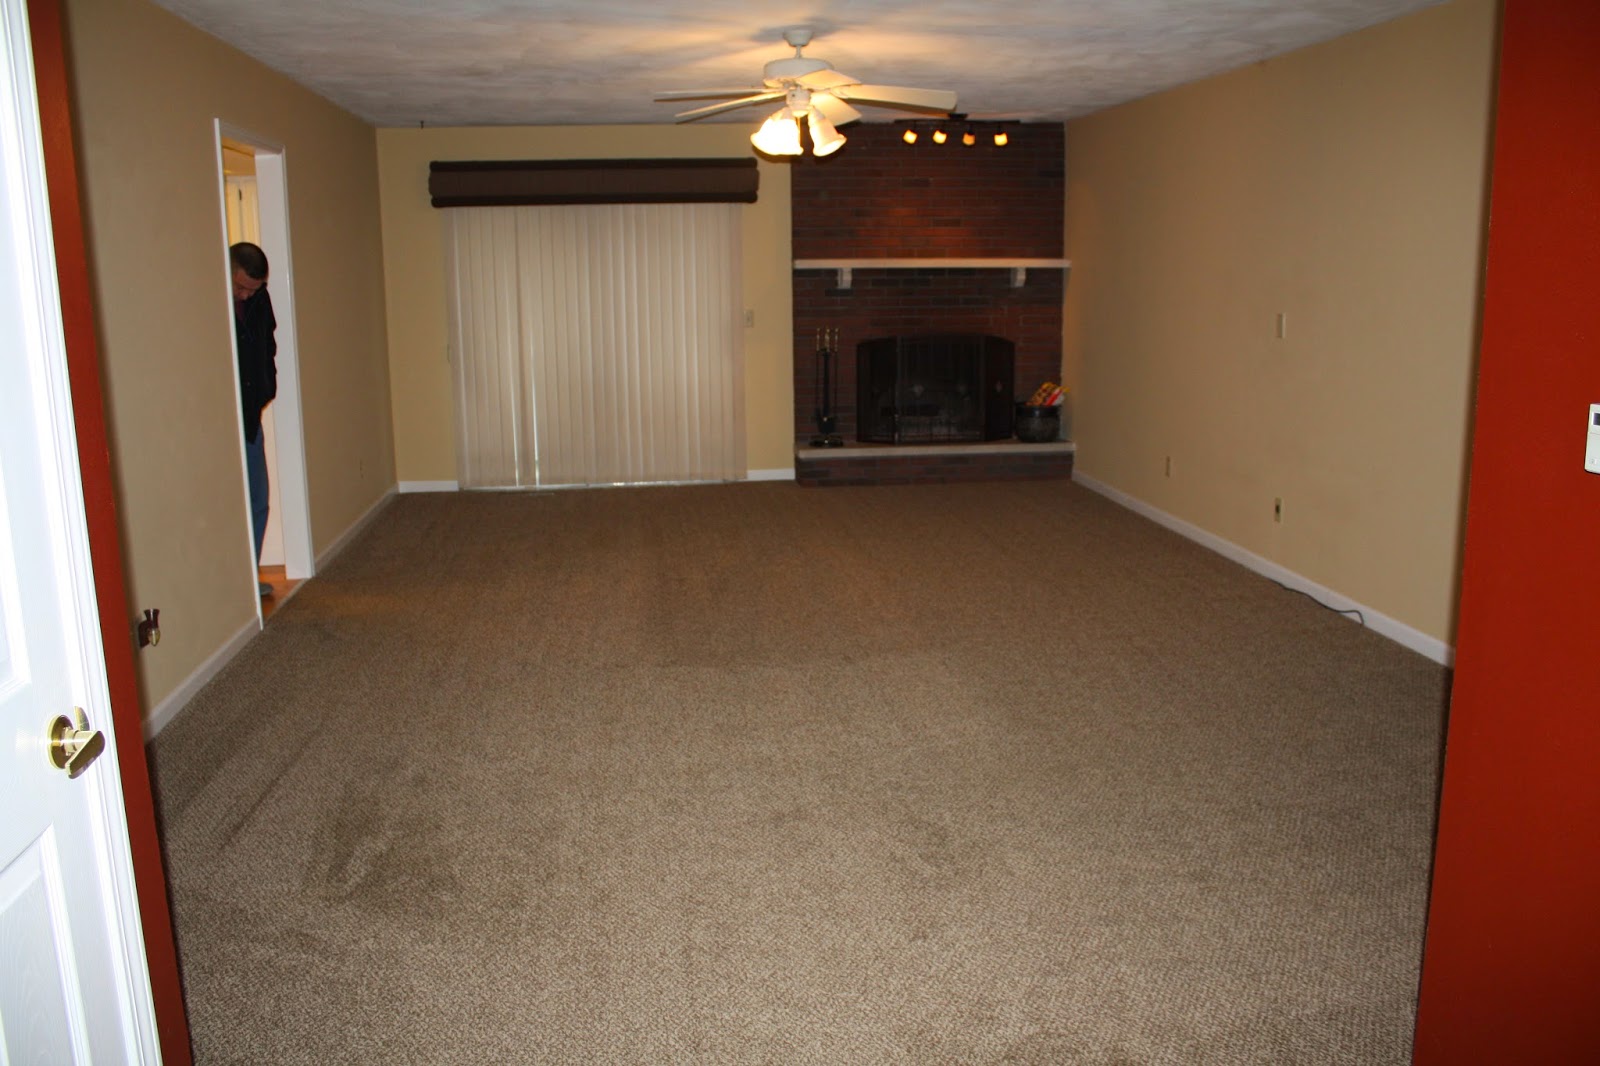
Here's a BEFORE picture of our living room when we first bought the house:
Here is a before shot of the wet bar:

Eeeeeek! Don't worry, it is looking better these days :) but it is still a work in progress.
I immediately decided to paint the cabinets white and leaned a large mirror on the counter and this is how it looked for a couple years:

I always dreamed of a big statement mirror on the blank wall but I already had a big mirror over the wet bar! I eventually decided to sell the wet bar mirror. I had some grass-cloth installed on the back wall to add some texture and I plan to eventually put up some shelving.

Here is how the wet bar looks today:

To solve the blank wall situation, I decided to hang a grid of identical frames all the way down the wall. And of course I had to have this gorgeous mirror be a part of it.

When I saw this mirror that the fabulous, Dina, from Honey & Fitz, used in a client's dining room I knew I had to have it. I'd MAKE a place for it! (side-note: I just saw that it is now sold out-boo!).

Here are some wide shots so you can see how it flows:


On the other end of the wall is the only area of our home where we get fantastic sunlight. Therefore it is our plant zone! Full of green:
 |
| Frames - Michaels | Inner Matting - Amazon | Brass Owl - Momoderne | Tray - Nate Berkus for Target |
I found the bamboo console (along with my matching coffee table) on Craigslist. I love the grid of frames over the console. I did a double matting and sprayed the inside matting gold so it would POP!
I wanted to have a coordinating set of artwork in all 10 of the frames so I once again sought inspiration from a link I bookmarked on Dina's blog (you seriously need to follow her!) It is a collection of over 96,000 F-R-E-E vintage illustrations. There are tons of beautiful and colorful butterfly images that I quickly settled on as my theme. Butterflies (or papillons- in French) remind me of my adorable little pup Wylie. He is a papillon breed and they're named for their butterfly-like ears!!

Here are some more shots!


I saved the images for the butterfly images I used in case you are interested in using them in your own home!


Aren't the colors great? So what do you think? Does it all tie together now? I'd love to hear your comments or questions. I will keep you updated as I continue to work on the wet bar.
Thanks for reading and HAPPY FRIDAY!
Emily


